Introduction
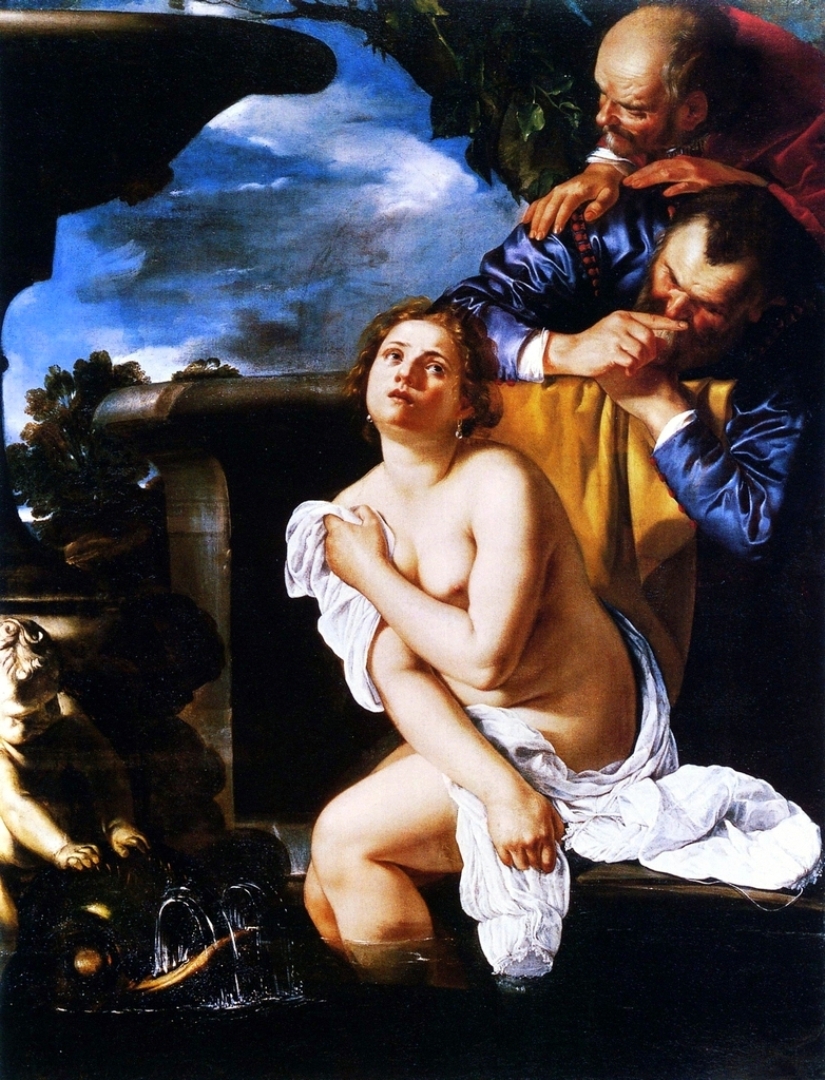
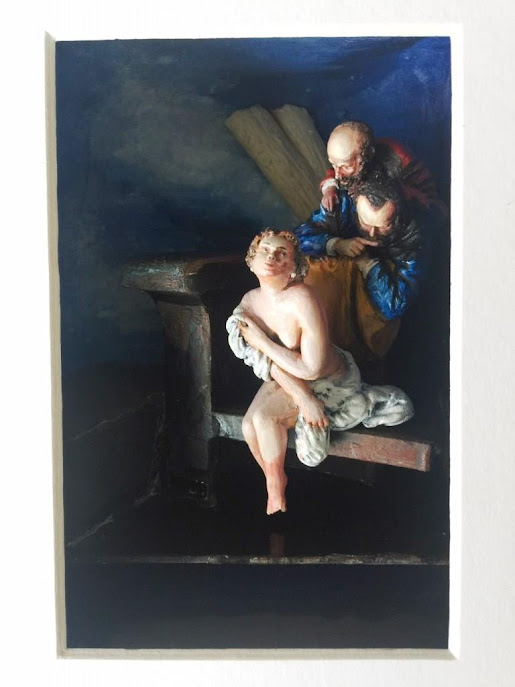
For my next piece, I selected a classical painting Susanna and the Elders which was a very popular theme with numerous Classical artists including Rembrandt, Tintoretto and van Dyck. My version was by Artemesia Gentilischi, a woman Renaissance painter, who did at least 6 versions of Susanna and the Elders. This was a biblical story of a young woman at her bath who was preyed upon by two elderly men. The setting here is very compact, with Susanna in the forefront dipping her feet into the pool and separated from the two men by a wall. The scene is framed by bits of a fountain and some branches, with a cherub in the foreground to further add some pictorial element.
Sculpting the Figures
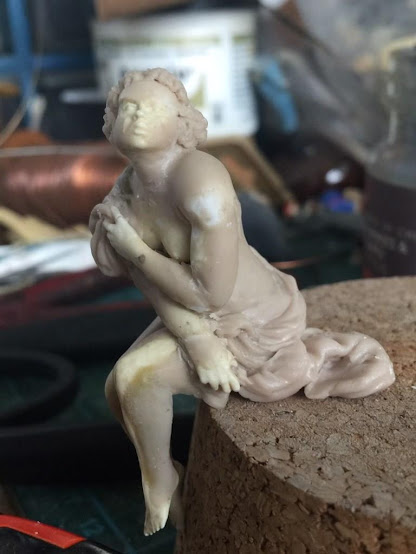
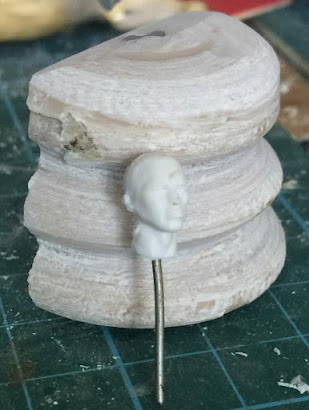
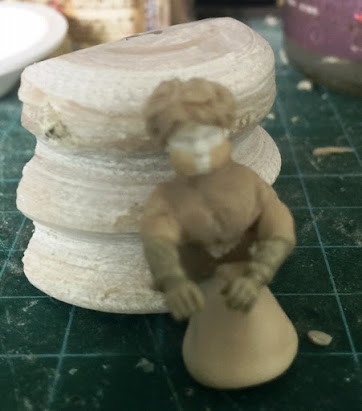
As this was planned to be a small piece, I decided to use larger scale parts (1/24 Preiser) to start me off. This would give me a viewing window of under A5 size and I can use a simple frame of about that size to build my shadowbox. As the girl appears plump, I thickened up the legs with putty and further fleshed her out and also created two talking heads.


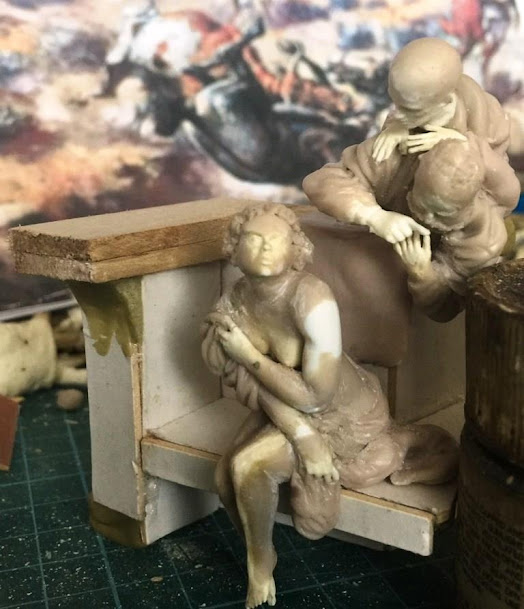
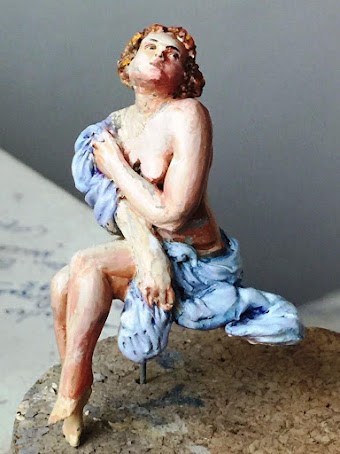
Almost finished sculpting Susanna and finalising the elders. Some continuous adjustments were made to fit the pieces within the shadowbox.
Masonry for the Pool
I also knocked up the masonry for the bath from cardboard and wood and posed the figures posed on it.
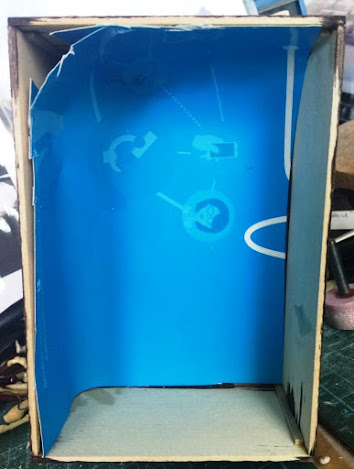
I made a box to fit into the picture frame for this piece. A simple cardboard background was cut out and stuffed into the box. The surface was treated and the background later painted.
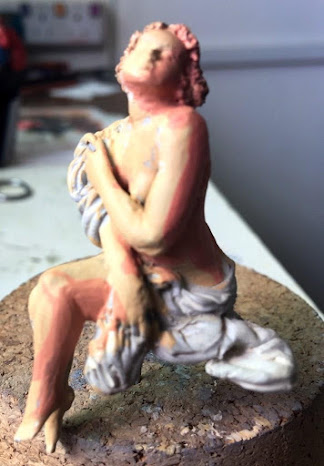
Painting has started on Susanna with oilpaints. As you can see, shading the human body is not so straightfwd. The close-up highlights the blemishes. When the paint had dried, I gently rub over the painted surface to tamp it down and blend in the colours (dry blending), similar to blending with pastels.
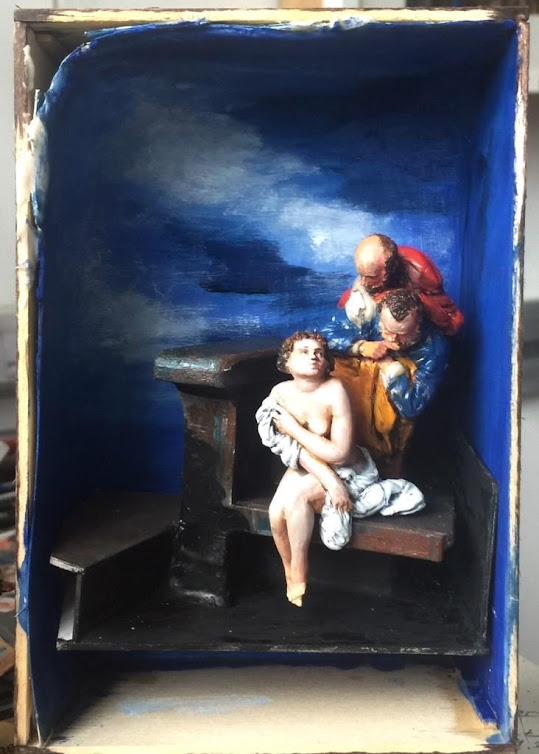
Here is the final proposed placement within the shadowbox.
The Fountain and the Cherub
Now starting on the last part which is the fountain and cherub to the left. I cut a turned part in half for the fountain. The cherub is just a suitable smaller sized head with putty body.

I cut up the masonry and attached the fountain base to it. The branches were further developed.
Susanna was finally fixed into place. I knocked up some branches and tested the placement of the pieces within the frame.


The cherub proportions are more or less defined. Best that I can make out is that the cherub is riding on a snail, a common theme in fountains. These are placed in the shadow box to test the placement.
Now moving at a fast pace. I finalised the cherub and attach him to the piece. The piece was placed inside the box for checking.
I knocked up some branches and fitted them into the box.
I am just waiting for the paint to dry before I attempt to pour in some resin water for the pool.
I painted the background and attached some foliage and a fountain basin.
Casting the Resin
I sealed off the front of the masonry and poured in a thin layer of acrylic gloss varnish. Here is my simple test run for the casting resin which was bought about 2 years ago. and it might not work. I did two batches, one just to see if the resin will set hard and the other with some translucent dyes added. Both batches set hard overnight and the dye did not separate out from the resin into globules, which meant that both products were compatible.


Some additional water effects were added from plastic wrap and liberally covered with UHU which when it dried, starts to froth creating a bubbly effect.
Final Completion
The piece was placed into the box and raised up by simple wooden spacers and fixed with epoxy glue. Awaiting minor touchups with paint and a dullcote varnish before completion.
Some delay was encountered as I painted the frame in gilt and made a label for the piece. The reason for repainting the white frame was because I had made a mistake of drilling thru a small hole to screw in the magnetic latch. After I had patched up the hole, I could not neatly match the repaired area and so I decided to redo the whole frame in gold. It looks better in gold anyway.

And finally, the scene is framed! A very nice and compact piece.


The climate change glare phenomenon continues to bug my IP camera so I've taken several shots.
Hope you enjoyed this thread.