
This piece is based on a Pre-Raphaelite painting by British artist Sir John Everett Millais and can be seen in the Tate Gallery in London. It depicts Ophelia, a character from William Shakespeare's play Hamlet, singing before she drowns in a river.
I selected this piece as I wanted to try out several techniques – casting resin, adding stage hair to the figure, using polythene to represent thin muslin fabric.
The figure was fairly simple, using only a 1/24 head (Preiser) and two hands (Tamiya) for the armature. The rest was sculpted. I sculpted the head and hair. I opened the mouth a little with the knife as Ophelia was singing while drowning. I changed the hands a little and sculpted most of the dress.


I added stage hair to her locks with white glue and when dried, the figure was painted.

I then pasted a polythene sheet onto the dress with white glue to represent muslin. As the glue was drying, the polythene was further rearranged around the dress.
I selected a larger frame to hide the edges of the stream and made a box to fit the frame. Then I made an inner tub from cardboard to contain the casting resin.
I selected a larger frame to hide the edges of the stream and made a box to fit the frame. Then I made an inner tub from cardboard to contain the casting resin.

An uprooted tree trunk with roots was sculpted from putty and bits of roots. I sealed the tub and attached the root and some groundwork into the tub. All groundwork was painted black and the sky was painted light blue. Some foliage was added and the figure was positioned into the tub.


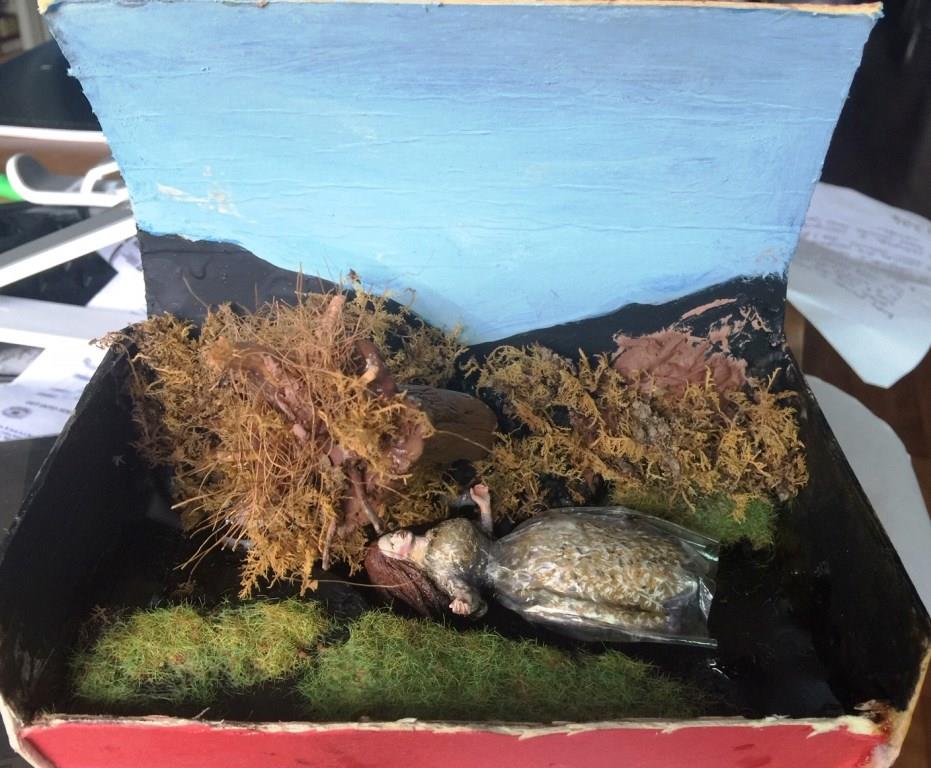
The first layer of resin tinted very dark was poured. Additional foliage was added between the various casting stages.


The dress itself was touched up with a purple shadows and white highlights.
I added less tint to additional casting layers. As you can see, the resin is starting to cover part of the figure and also submerging the grassy knoll. The final layers were clear casting resin only, with the final layer being to embed in any flowers floating on the surface.


The figure is almost fully submerged now as per the painting. I added LED lights to the shadowbox.
After all the foliage was completed. I fitted the piece within the shadow box, slightly angled forward.
The frame was fitted onto the box with the cutout, which was burred slightly at the top corners to simulate the actual framed painting.
The piece can be seen, without lights and with lights.


I used bright white LED lights as the painting is done in very bright colours. The last two pics are a close up and a shot of the box with its LED wires and switch.


That's it for this piece. Hope you enjoyed this.
No comments:
Post a Comment